Article Plan: Bat Sewing Pattern PDF Free
This article details finding free and affordable bat sewing patterns in PDF format, covering resources like Etsy, BeeZeeArt, and YouTube tutorials for crafting plushies.
The allure of bats extends beyond Halloween; these fascinating creatures inspire creativity in crafting, particularly in sewing projects. A bat sewing pattern PDF free offers an accessible entry point for both novice and experienced sewists to create adorable bat-themed plushies, ornaments, or even unique gifts.
The internet provides a wealth of options, ranging from simple beginner patterns to more intricate designs. This guide will navigate the landscape of free bat sewing patterns, highlighting popular resources like Etsy and BeeZeeArt, alongside valuable video tutorials. We’ll explore the benefits of using PDF patterns and equip you with the knowledge to embark on your bat-sewing adventure successfully.
What is a Bat Sewing Pattern?
A bat sewing pattern is a template, typically in PDF format, that provides the shapes needed to cut fabric for constructing a bat-shaped item. These patterns include individual pieces for the bat’s body, wings, and any desired features like ears or facial details.
The PDF format allows for easy downloading and printing at home, making it a convenient option for crafters. Patterns often include seam allowances – the extra fabric needed for sewing – and detailed instructions. Finished projects can vary widely, from small ornaments to larger, cuddly plushies, depending on the pattern’s complexity and the sewist’s skill level.
Why Choose a Free PDF Pattern?
Opting for a free PDF bat sewing pattern offers several advantages, particularly for beginners or those on a budget. It allows you to test a pattern and a new craft without a significant financial investment. Free patterns are readily accessible online, providing a wide variety of designs to choose from.
Downloading a PDF eliminates shipping costs and provides instant access to the template. This is ideal for spontaneous crafting projects! While some free patterns may be simpler, they still offer a rewarding creative outlet. Exploring free options can build confidence before investing in more complex, paid patterns.
Popular Free Bat Sewing Patterns Available Online
While a dedicated central repository is lacking, numerous websites host free bat sewing patterns. Etsy frequently features designers offering free introductory patterns to showcase their work, often with simplified designs. BeeZeeArt provides a beginner-friendly bat pattern specifically designed for those new to sewing plushies, focusing on easier shapes.
Searching platforms like Pinterest and Ravelry using keywords like “free bat sewing pattern PDF” yields various results. Remember to carefully review the pattern’s instructions and skill level before starting. Many blogs dedicated to sewing and crafting also offer free patterns as promotional content.
Etsy Options for Free or Low-Cost Patterns

Etsy is a treasure trove for bat sewing patterns, offering both free and reasonably priced options. Many sellers provide free patterns as “thank you” downloads or promotional items, often simpler designs. A popular listing features a PDF digital download with a 1/4 seam allowance, detailed sewing lines, and 150 pattern pieces.
This pattern includes printing instructions, cutting layouts, sewing tips, and a step-by-step tutorial with photographs. Finished bats are approximately 6 inches tall with a 12-inch wingspan. Low-cost patterns generally range from $3 to $10, offering more complex designs and detailed instructions.
BeeZeeArt Beginner Bat Pattern Details
BeeZeeArt offers a dedicated beginner bat stuffed animal sewing pattern, a digital download designed for those new to sewing. This pattern simplifies the bat’s shape, making it easier to construct while maintaining a recognizable bat appearance. It’s ideal for beginning sewists wanting a manageable project.
The pattern provides clear instructions to create a charming plushie. BeeZeeArt focuses on accessibility, ensuring even novice crafters can successfully complete the project. This pattern is a fantastic starting point for building sewing skills and enjoying the satisfaction of creating a handmade bat plush toy.
Bat Plush Sewing Pattern ─ Etsy Details
Etsy hosts numerous bat plush sewing patterns in PDF format, often available as digital downloads. A popular option includes a pattern with a 1/4 inch seam allowance and precise sewing lines, ensuring accuracy. The download typically features 150 pattern pieces alongside detailed printing and cutting layouts for efficient fabric use.
Buyers also receive three pages of helpful sewing tips and a step-by-step tutorial with accompanying photographs. A free video tutorial is often linked (e.g., https://youtu.be/WasrzwZwofg) for visual guidance. The finished bat measures approximately 6 inches tall, 2.5 inches wide, with a 12-inch wingspan.
Skill Level Required for Different Patterns
Bat sewing patterns vary significantly in complexity, catering to diverse skill levels. Beginner patterns, like those from BeeZeeArt, utilize simpler shapes and fewer pieces, making them ideal for novice sewists. These patterns focus on basic stitching techniques and straightforward construction. Intermediate patterns introduce more intricate designs, potentially including curved seams, detailed wings, or smaller components.
More advanced patterns may require experience with pattern adjustments, complex shaping, and potentially even wire insertion for poseability. Always assess the pattern’s description and included instructions to determine if it aligns with your current sewing abilities.
Beginner-Friendly Bat Patterns
For those new to sewing, selecting a beginner-friendly bat pattern is crucial for a successful project. BeeZeeArt offers a specifically designed beginner bat pattern featuring simplified shapes and clear instructions. These patterns typically avoid complex curves or numerous small pieces, reducing potential frustration. Look for patterns with detailed, step-by-step tutorials and accompanying photographs, like the one available with the Etsy bat plush pattern.
Patterns with a 1/4 inch seam allowance are also easier to manage for beginners. Starting with a smaller finished size, around 6 inches tall, can further simplify the process.
Intermediate Bat Pattern Considerations
Intermediate sewists can explore bat patterns with more intricate details and challenging construction techniques. These patterns may include curved wings, detailed facial features, or more complex shaping of the bat’s body. Expect patterns requiring more precise cutting and sewing skills, and potentially incorporating techniques like appliqué or embroidery.
Consider patterns that utilize multiple fabric types for added visual interest or realism. Carefully review the pattern instructions to ensure a comfortable level of challenge, and be prepared to spend more time on the project.
Materials Needed for Bat Sewing Projects
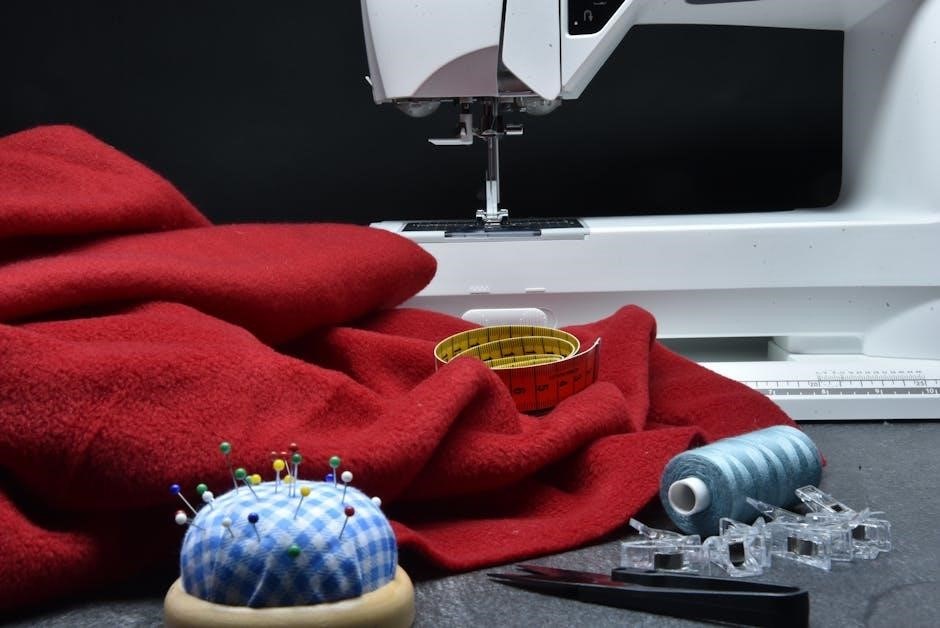
Successfully crafting a bat plushie requires gathering specific materials. Primarily, you’ll need fabric – fleece, felt, or cotton are popular choices. Stuffing is crucial, with polyester fiberfill being a common option. Pattern pieces, printed on paper, are essential, alongside matching thread for sewing.
Basic sewing tools are vital: scissors, pins, a seam ripper, and a sewing machine (though hand-sewing is possible). Optional materials include embroidery floss for facial details, beads for eyes, and wire for poseable wings. A printer for the PDF pattern is also necessary.
Fabric Choices for Bat Plushies
Selecting the right fabric significantly impacts your bat plushie’s final look and feel. Fleece is incredibly soft and forgiving for beginners, offering a cuddly texture. Felt is another excellent choice, being inexpensive and easy to cut, ideal for smaller bats. Cotton fabrics provide durability and a wider range of patterns, though they may require more precise sewing.
Consider fabric weight; lighter fabrics are easier to manipulate, while heavier ones offer more structure. Velvet or minky can create a luxurious feel, but are more challenging to work with. Black is traditional, but don’t hesitate to explore greys, purples, or even patterned fabrics!
Stuffing Options and Considerations
Choosing the right stuffing is crucial for a well-shaped and huggable bat plushie. Polyester fiberfill is the most common and affordable option, being lightweight and washable. Cotton stuffing offers a natural alternative, though it can be heavier and may clump over time. Wool stuffing provides excellent loft and resilience, but is more expensive.
Consider the firmness you desire; more stuffing creates a firmer bat, while less results in a softer, floppier one. Ensure even distribution to avoid lumps and maintain a pleasing shape. Recycled stuffing is an eco-friendly choice, repurposing materials for a sustainable project.
Essential Sewing Tools
Successfully completing a bat sewing project requires a few key tools. Sharp fabric scissors are paramount for precise pattern cutting, ensuring clean edges. A seam ripper is invaluable for correcting mistakes without damaging the fabric. Pins securely hold pattern pieces together during sewing. A hand sewing needle is useful for finishing details.
A sewing machine significantly speeds up the process, but isn’t always essential for smaller projects. Measuring tape and a ruler aid in accurate measurements. Fabric marking tools, like chalk or a disappearing ink pen, help transfer pattern markings. Consider a turning tool to neatly flip the bat right-side out.
Step-by-Step Guide to Using a Bat Sewing Pattern
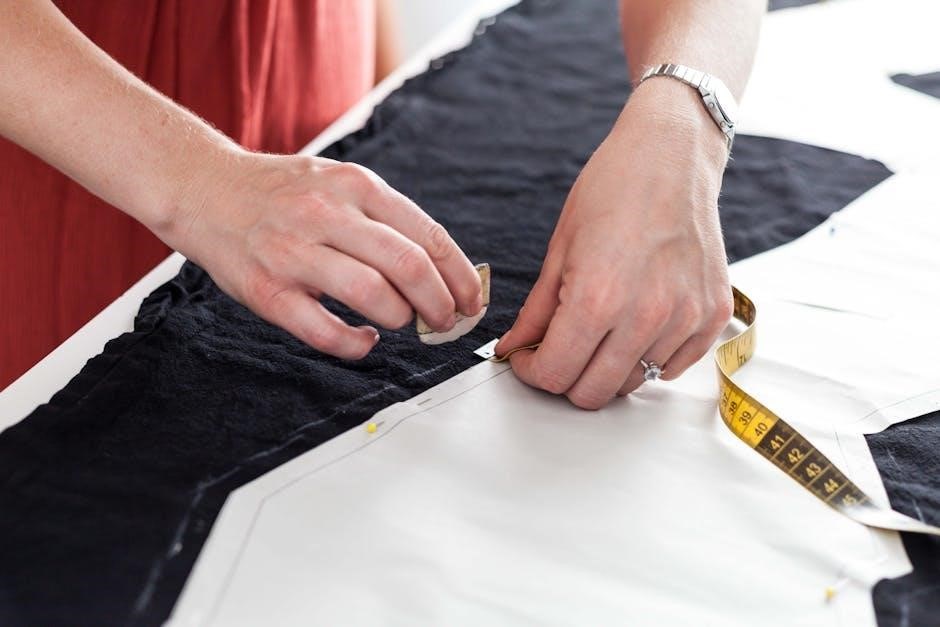
Begin by carefully printing your downloaded PDF bat sewing pattern, ensuring it’s scaled correctly – check the test square! Cut out each pattern piece along the designated lines. Pin the pattern pieces to your chosen fabric, paying attention to grain direction. Precisely cut the fabric following the pattern outlines, including seam allowances (typically ¼ inch).
Next, sew the bat body pieces together, following the pattern instructions. Attach the wings to the body, ensuring proper alignment. Leave an opening for stuffing. Turn the bat right-side out, stuff firmly, and hand-stitch the opening closed.
Printing and Cutting the Pattern Pieces
Before cutting, accurately print your bat sewing pattern PDF. Crucially, verify the scale using the included test square – a misprinted size ruins the project! Select appropriate paper; cardstock offers durability. Carefully cut out each pattern piece along the solid lines, using sharp scissors for clean edges.
Pin the pattern pieces to your fabric, aligning with grainlines as indicated. Precisely cut the fabric around the pattern, adding the specified seam allowance (often ¼ inch). Double-check all pieces are cut correctly before sewing!
Sewing the Bat Body and Wings
Begin by sewing the bat’s body pieces together, right sides facing, using a ¼ inch seam allowance as detailed in the pattern instructions. Next, carefully attach the wings to the body, ensuring correct placement and alignment. Pin securely before stitching to prevent shifting.
Follow the pattern’s sequence for attaching smaller details like ears or feet. Leave a small opening for stuffing, typically on the underside. Reinforce seams at stress points, like wing attachments, for durability. Accurate sewing ensures a well-shaped bat!
Stuffing and Finishing Touches
Once the bat is partially sewn, begin carefully stuffing it with your chosen filling – polyester fiberfill is common. Ensure even distribution to avoid lumps and maintain shape, especially in the wings and body. Use a stuffing tool to reach tight areas.
After stuffing, hand-stitch the opening closed with a hidden stitch. Add any desired embellishments, like embroidered eyes or felt details. Gently shape the bat to achieve the desired look. A final press can help smooth seams and refine the finished plushie!
Resources for Video Tutorials
Visual learners will benefit greatly from accompanying video tutorials. YouTube offers a wealth of resources, including a helpful tutorial specifically linked to the Etsy Bat Plush Sewing Pattern: https://youtu.be/WasrzwZwofg.
These videos demonstrate techniques like sewing curves, stuffing efficiently, and achieving a professional finish. Searching platforms like YouTube for “bat plush sewing tutorial” reveals numerous options catering to different skill levels. Don’t hesitate to explore and find a style that suits your learning preference!
YouTube Tutorial Links (e.g., WasrzwZwofg)
For a direct visual guide to constructing the Etsy Bat Plush, utilize this link: https://youtu.be/WasrzwZwofg. This tutorial complements the written instructions and photographs included with the pattern download, offering a step-by-step demonstration of the sewing process.
Beyond this specific link, searching YouTube for keywords like “bat plush sewing,” “beginner plush tutorial,” or “stuffed animal sewing” will uncover a broader range of helpful videos. These resources can clarify challenging steps and inspire creative variations on the basic bat design.
Online Sewing Communities and Forums
Engage with fellow crafters in online sewing communities for support and inspiration! Platforms like Reddit’s r/sewing and Facebook groups dedicated to plush making offer spaces to ask questions, share progress, and receive feedback on your bat sewing projects. These forums are invaluable for troubleshooting difficulties and discovering new techniques.
Dedicated pattern discussion boards often feature threads specifically for BeeZeeArt or Etsy patterns, allowing you to connect with others using the same resources. Don’t hesitate to post photos of your creations and participate in collaborative projects – learning from experienced sewers can significantly enhance your skills!
Troubleshooting Common Sewing Issues
Encountering problems is normal! When working with bat sewing patterns, seam allowance discrepancies can occur; always double-check measurements before cutting. Fabric slippage, especially with felt, can be minimized using pins or fabric clips. Incorrect stuffing leads to uneven shapes – add small amounts gradually for a balanced plushie.
If seams pucker, reduce the presser foot pressure or use a walking foot. For distorted shapes, carefully unpick seams and re-sew, paying attention to pattern alignment. Online forums (mentioned elsewhere) are excellent resources for specific issue resolution and shared solutions!
Dealing with Seam Allowance Problems
Accurate seam allowances are crucial for a well-shaped bat plushie. Many free PDF patterns, like those found on Etsy, include a ¼ inch allowance, but verify this before cutting your fabric. Inconsistent seam allowances result in uneven seams and distorted shapes. Always test on scrap fabric first!
If your seams are too narrow, the pieces may not fit together correctly. Too wide, and your bat will be smaller than intended. Use a seam gauge for precision. Carefully unpick and re-sew any problematic areas, ensuring consistent allowance throughout the project.
Addressing Fabric Slippage
Slippery fabrics, like satin or fleece, can be challenging when sewing bat plushies from PDF patterns. Fabric shifting during sewing leads to inaccurate seams and a misshapen final product. Use pins liberally to secure layers, placing them perpendicular to the sewing line. Consider using fabric clips as an alternative to pins, especially for thicker materials.
Lowering the presser foot pressure on your sewing machine can also help. A walking foot is an excellent investment, as it feeds both layers of fabric evenly. Avoid stretching the fabric while sewing; gently guide it through the machine.
Fixing Incorrectly Stuffed Areas
Uneven stuffing is common when creating bat plushies from PDF patterns. If an area is understuffed, carefully open a seam using a seam ripper. Add small amounts of stuffing, working it into the area with a chopstick or turning tool to ensure even distribution. Avoid overstuffing, as this can distort the shape.
For overstuffed areas, gently remove some stuffing. Re-close the seam with a neat, invisible stitch. Take your time and periodically check the shape as you adjust the filling. Proper stuffing is key to a well-formed bat plushie!
Safety Precautions When Sewing
Prioritize safety when working with sewing machines and tools while crafting your bat plushie from a PDF pattern. Always unplug your sewing machine when changing needles or performing maintenance. Keep fingers clear of the needle while sewing, using a seam guide for precision. Handle sharp tools like scissors and seam rippers with extreme care, storing them securely when not in use.
Ensure proper ventilation in your workspace, especially when using fabric adhesives. Be mindful of electrical cords to prevent tripping hazards. Supervise children if they are observing or assisting with the sewing process.
Using Sewing Machines Safely
Mastering safe sewing machine operation is crucial when bringing your bat pattern to life. Always read your machine’s manual to understand its specific features and safety guidelines. Regularly maintain your machine by cleaning and oiling it, preventing malfunctions. Never force the fabric under the needle; let the machine do the work. Keep the area around the machine clear of clutter.

Use the correct needle for your fabric type to avoid breakage and injury. Be aware of the foot pedal’s sensitivity and control your sewing speed. Unplug the machine before threading or changing the needle.
Handling Sharp Tools
Precision in bat sewing demands careful handling of sharp tools like scissors and rotary cutters. Always use a self-healing cutting mat to protect surfaces and maintain blade sharpness. Keep fingers away from the blade’s path; consider using a thimble for added protection. Store sharp tools securely when not in use, ideally in a designated case or drawer.
Never attempt to catch a falling rotary cutter or scissors. Replace dull blades promptly, as they require more force and increase the risk of slipping. Dispose of broken blades responsibly, following local regulations.
Proper Ventilation
When working with fabrics and adhesives during your bat sewing project, ensure adequate ventilation in your workspace. Some fabrics may release small particles or fumes when cut or heated, and adhesives can emit volatile organic compounds (VOCs). Open windows or use a fan to circulate fresh air, especially when using spray adhesives or fabric paints.
Prolonged exposure to poor air quality can cause respiratory irritation or headaches. Consider using an air purifier with a HEPA filter to remove airborne particles. A well-ventilated space contributes to a healthier and more comfortable sewing experience.